
BlogEditing · Light effects
How to add a sun flare or light rays in Lightroom
Lightroom has no flare tool. You can build the light by hand with a radial mask, or place a finished effect in one click. Both ways, step by step, with the photos to show the difference.
3 min read

 WithoutWith
Lightroom can do a lot with light that is already in a photo. What it does not have is a tool that adds light. There is no flare tool and no way to send rays through a window.
There are two ways around that. You can build the light by hand, or you can place an effect that is already a flare.
The manual way: build the light with a radial mask
- Find where the light comes from. Look at the shadows and at the bright side of the faces. A flare only looks real when it sits where the sun really was, usually at an edge or a corner of the frame.
- Draw a radial gradient there. Open Masking and choose Radial Gradient. Put its center on the edge of the photo or just outside it, make it large and set Feather to 100.
- Turn it into light. Raise Exposure by about one stop, move Temp toward yellow, and pull Dehaze and Clarity down. Negative Dehaze is what makes the haze glow, not just get brighter.
- Add a second, bigger one. Duplicate the mask, make it two or three times larger and much weaker. Real sunlight has a hot center and a wide, soft veil around it.
- For rays, stretch it. Make a long, narrow radial gradient and turn it so it points away from the light. Repeat it three or four times at slightly different angles and widths.
- Save it. Create a preset that only includes the masks. Next time you start from it and move the light into place.
Where this stops
A radial mask makes a glow. It cannot make the parts that tell the eye it is a real flare: the ring, the streaks, the colored spots, or the shadow of a window frame inside a beam of light. And it starts from zero on every photo.
The one-click way: an effect that is already a flare
Meridian’s effect collections work differently from normal presets. Each effect is a brush preset. With the LLFx plug-in for Lightroom Classic you change its shape, its size and its strength until it fits the light that is already in the photo.
Solis by India Earl: sun, flare and glass
Solis has 25 sun, flare and glass effects. The collection was made to bring attention to the subject, to cover up distractions, and to amplify natural light that is already there.

 WithoutWith

 WithoutWith

 WithoutWith
Lumine by Anni Graham: light and shadow
Lumine has 15 light and shadow effects. They are inspired by the shadows that the trees outside throw on a living-room wall, the kind you wish you had at every shoot. They work indoors and outdoors, and you can combine them.
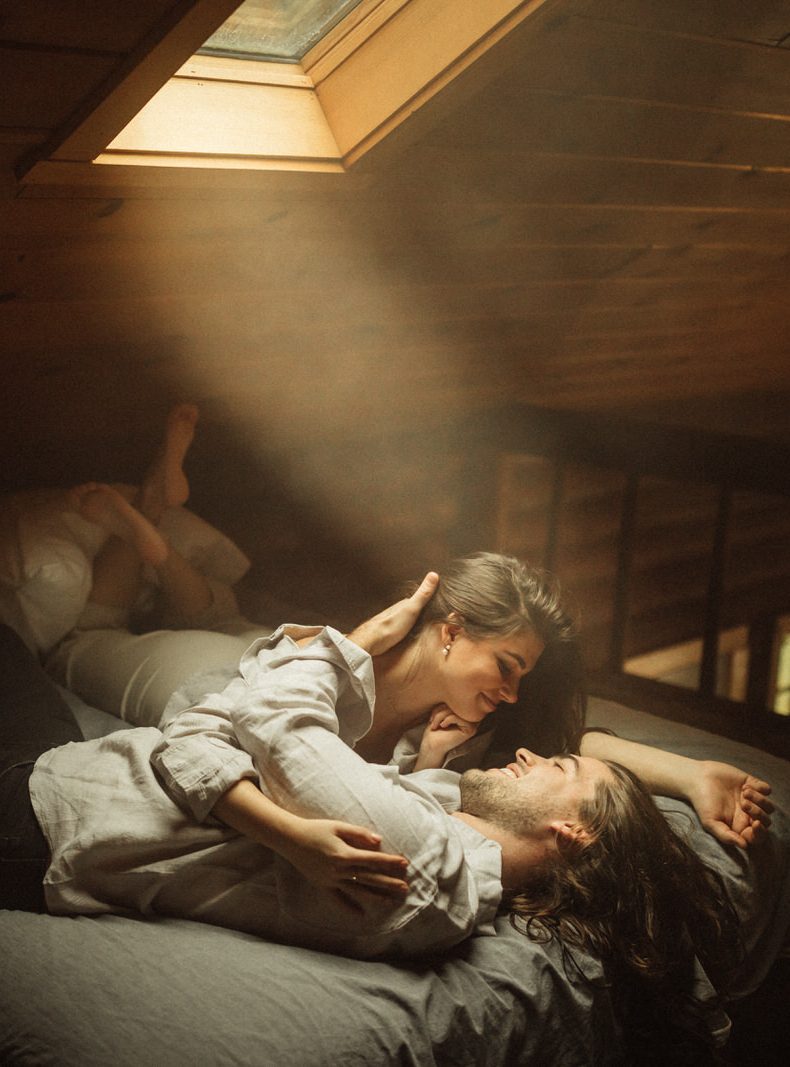
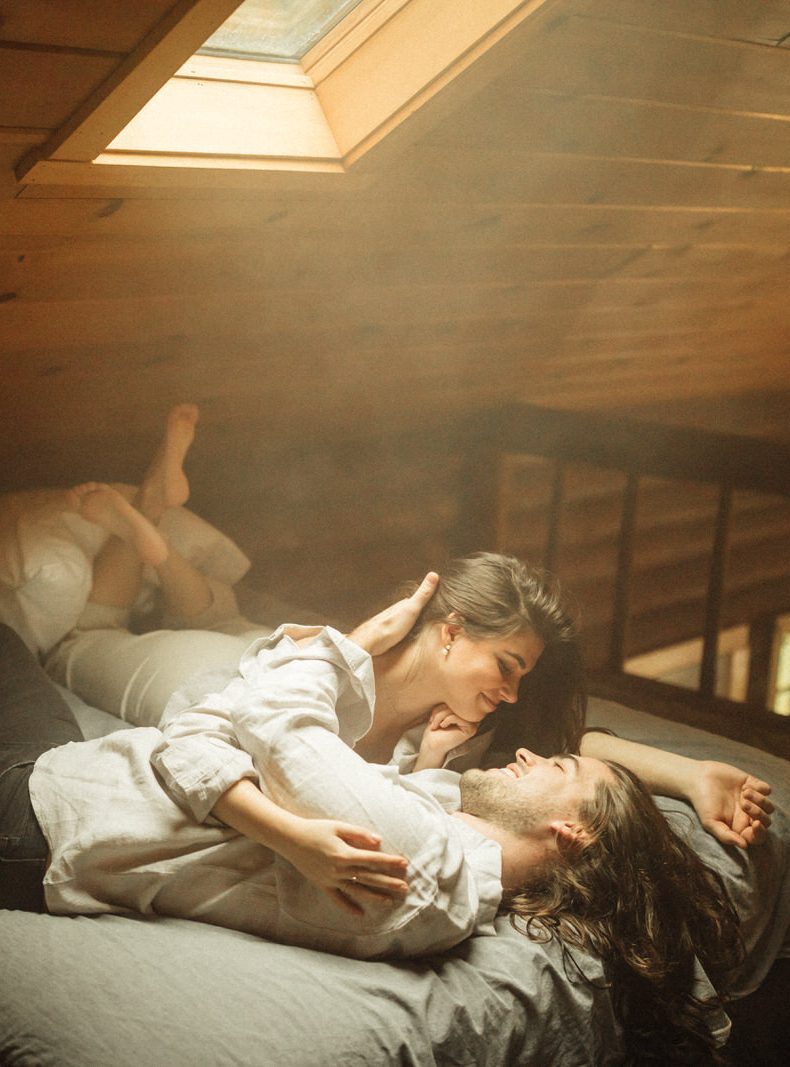 WithoutWith

 WithoutWith
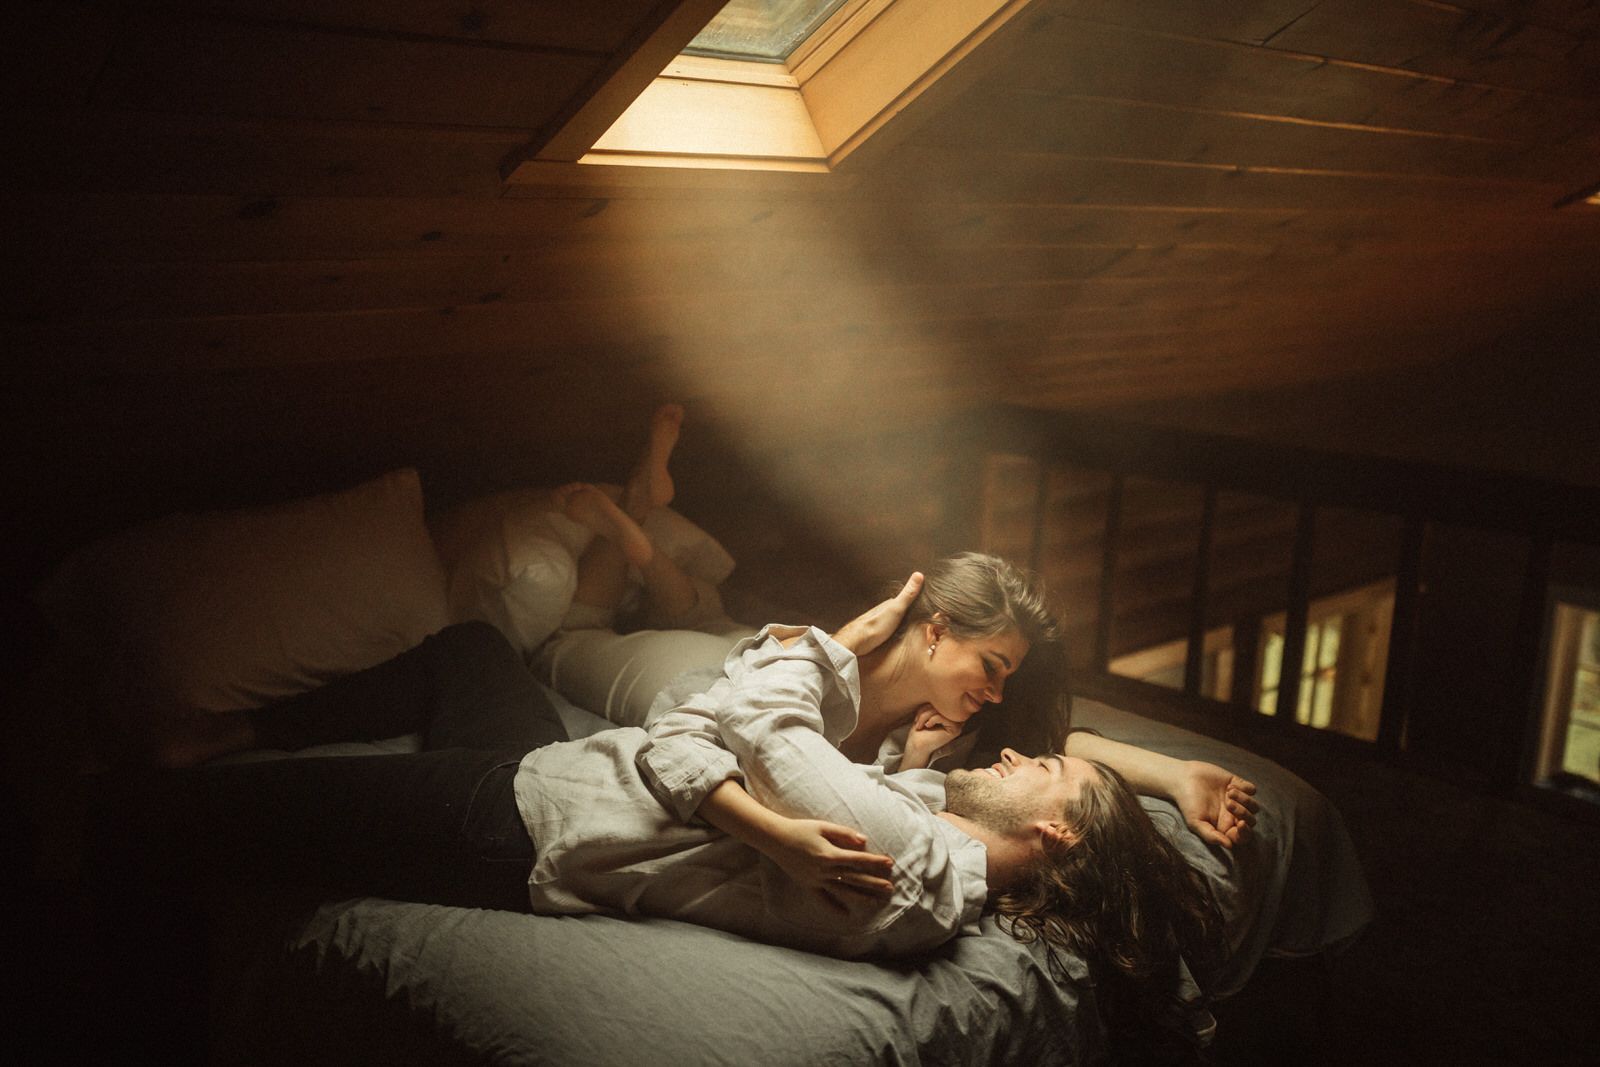
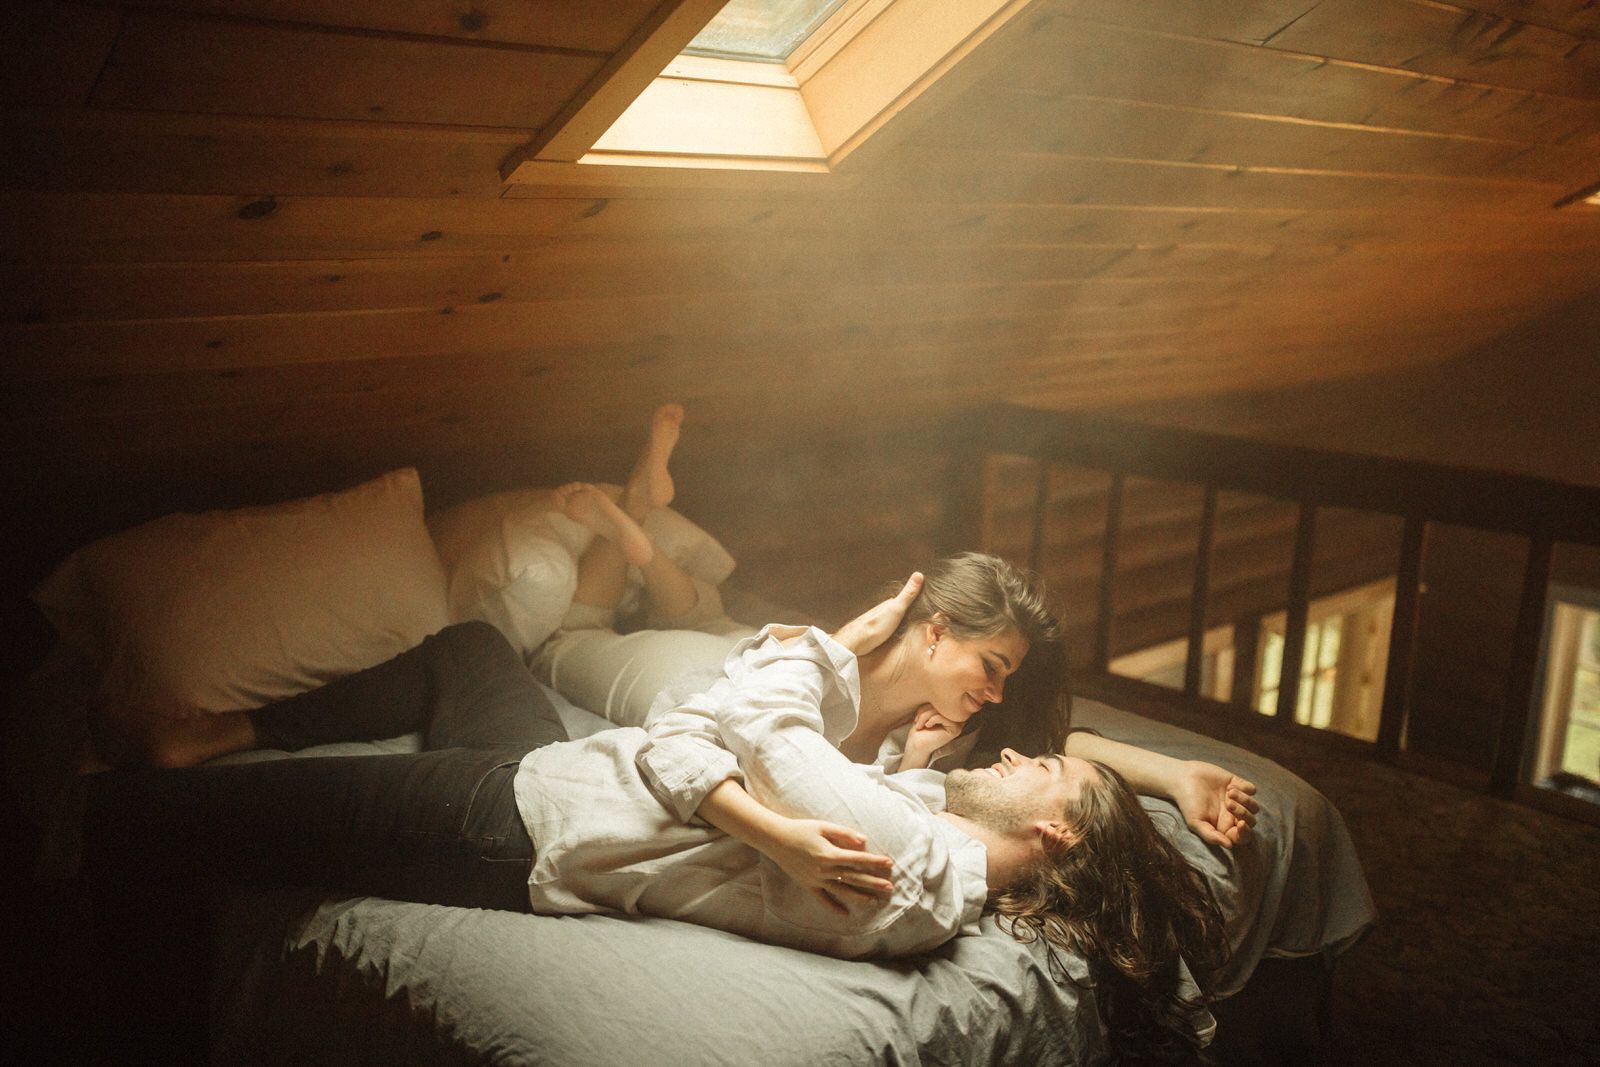 WithoutWith

 WithoutWith
Try it for free first
There is a free lens flare effect in the shop. Install it, put it on one of your own photos, and see whether this way of working suits you.
What you need
- Lightroom Classic 7.5 or newer, or Camera Raw 10.5 or newer. The effects do not work in Lightroom on a phone.
- If Lightroom gets slow, turn on Smart Previews, or put the effect on the finished JPG instead of the raw file.
- For Lumine it can also help to switch off lens corrections.
When a flare helps, and when it gives the edit away
- It helps when the photo already has a direction of light: backlight, a window, a low sun just outside the frame.
- It gives the edit away when the shadows point somewhere else, or when the flare is the brightest thing in a photo that was taken in shade.
- Keep it weaker than you think. If someone notices the flare before they notice the people, turn it down.
The collections in this post

 50% offSOLISby India Earl
Original price was: 89$.44$Current price is: 44$.

 50% offLUMINEby Anni Graham
Original price was: 99$.49$Current price is: 49$.
 FREE LLFX LENS FLAREby Meridian