
BlogEditing · Skin tones
How to edit dark skin tones in Lightroom
Most presets are built on light skin. Put them on darker skin and it turns lighter, grayer or more orange than it was in real life. Here is what goes wrong, how to fix it by hand, and the preset collection Chinelle Rojas made for exactly this.
 With Chinelle Rojas4 min read

 BeforeAfter
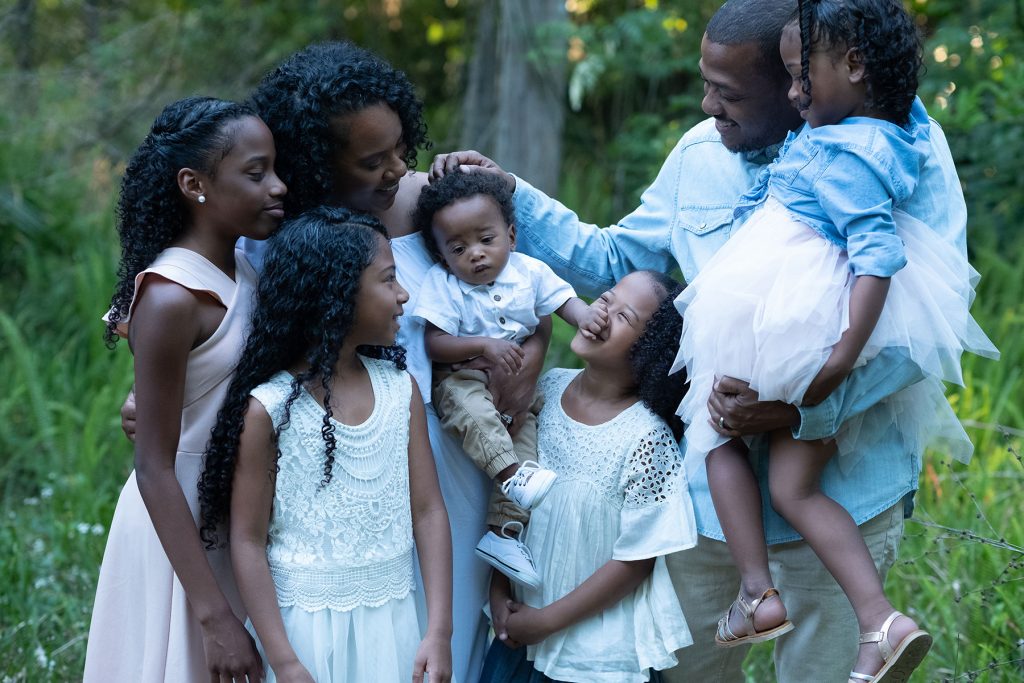
A preset is a set of slider positions that somebody saved while editing their own photos. If those photos mostly showed light skin, the preset carries that with it. It lifts the exposure, opens the shadows and pushes the orange tones lighter, because that flatters pale skin.
On dark skin the same moves do something else. The skin ends up lighter than the person is. It loses its depth and turns gray. Or the warmth tips over into orange.
Chinelle Rojas has a word for the first of these: white-washing. It is the reason she built her own collection.
What goes wrong, and how to see it
Put a preset on a photo of dark skin and look for three things.
Lighter than life
The skin is lighter than in the unedited photo.
Gray shadows
The shadows on the face turn gray or milky. They should stay deep.
Orange drift
The skin drifts toward orange or red, most of all on the forehead and the cheeks.
A quick test
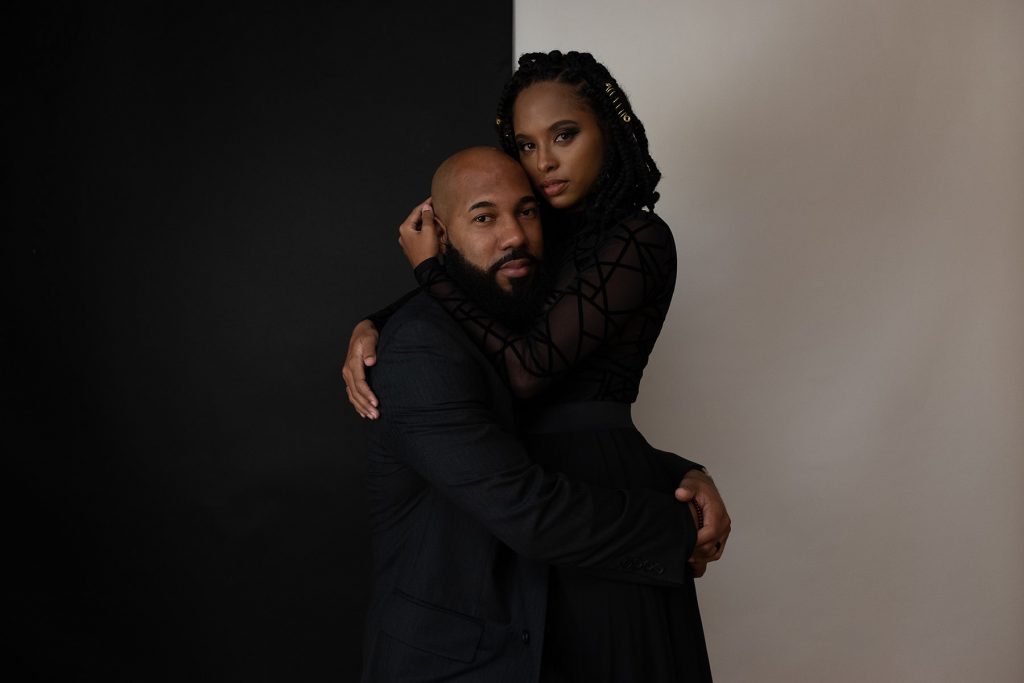
Pick a photo of someone you know well. Edit it, then press the backslash key in Lightroom Classic to flip between before and after. The edit should make the light and the color better. It should not change who is in the picture.

 BeforeAfter
Five things to get right by hand
Set the white balance first
Dark skin shows a color cast sooner than light skin, above all in the shadows: green from grass, blue from open shade. Take it out with Temp and Tint before anything else.
Expose for the skin you saw
Brighten the photo, then look at the face, not at the histogram. If the person looks lighter than in real life, come back down and brighten the surroundings with a mask.
Go easy on Orange
Orange luminance in the Color Mixer lightens skin fastest, and many presets push it up. Keep it near zero. Small moves in hue and saturation take out too much red or orange.


Keep the depth
Lifting Shadows and Blacks is what turns dark skin gray. Leave them where they are and shape the light with a gentle tone curve. If a forehead shines, pull Highlights down, not the whole exposure.
Edit people one by one
In a family with different skin tones, one setting for everybody is a compromise for everybody. Lightroom’s People masks select each person’s skin, so each one gets the exposure that suits them.
The shortcut: a collection built on dark skin
The five steps work. They are also slow when a gallery has 600 photos. The Melanated Film starts from the other end: skin tone is the thing it protects, not the thing it bends.
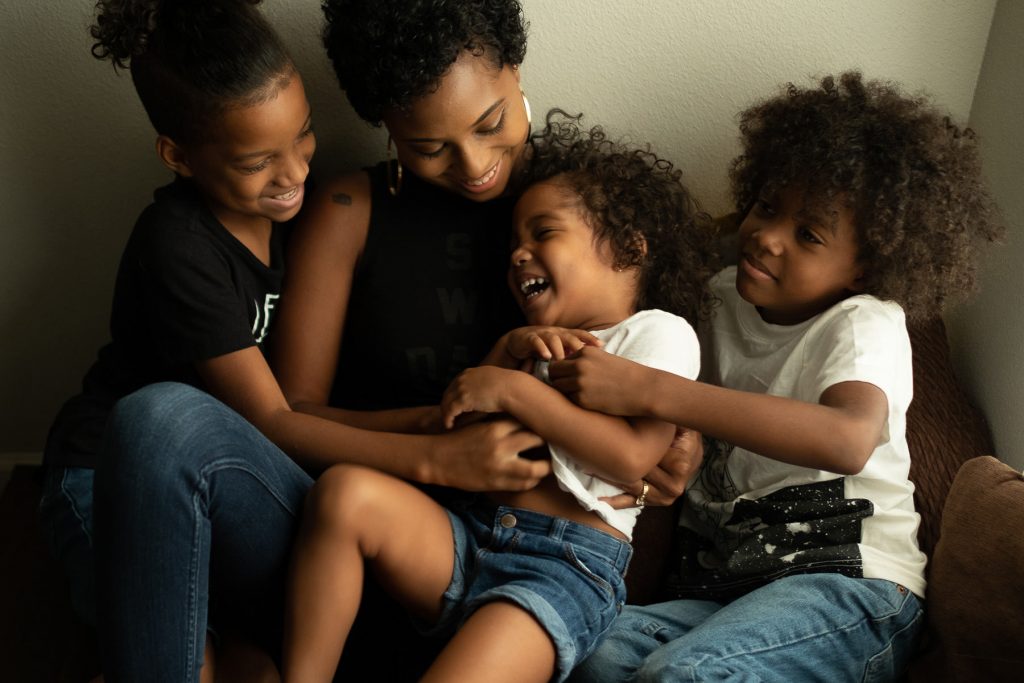
This set was created to show that it’s possible to edit darker skin tones, and even interracial families, beautifully and consistently.
- 42 presets: 3 Primer presets, 33 in color, 3 in black and white and 3 adjustment presets
- 5 adjustment brushes
- Made for dark skin, and for families with different skin tones in one frame
Three photos edited with the collection. Drag each line.

 BeforeAfter

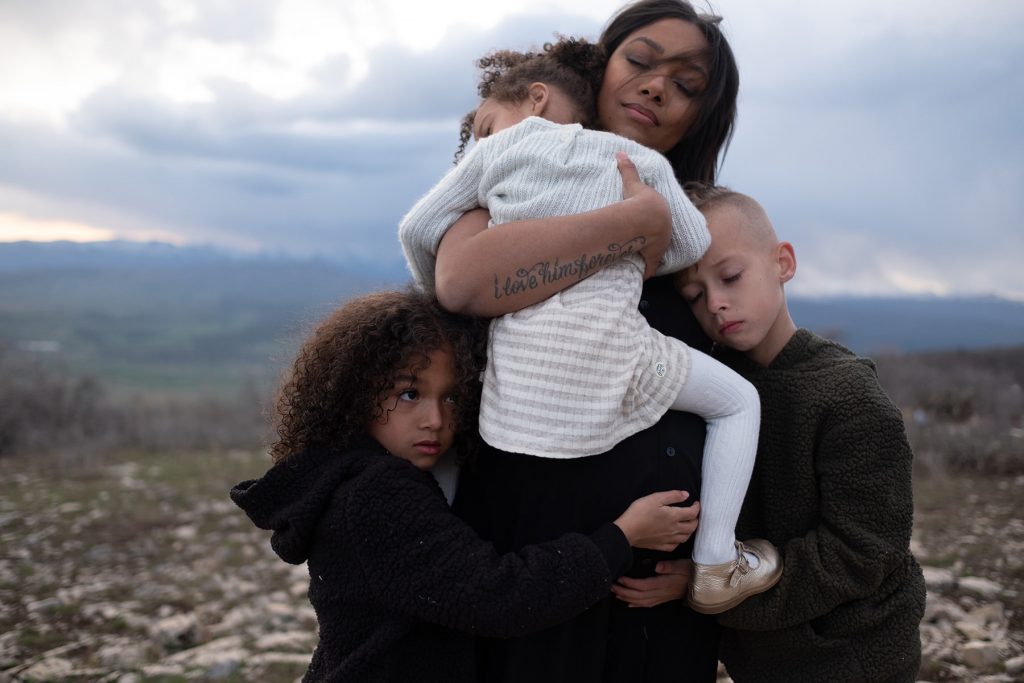 BeforeAfter

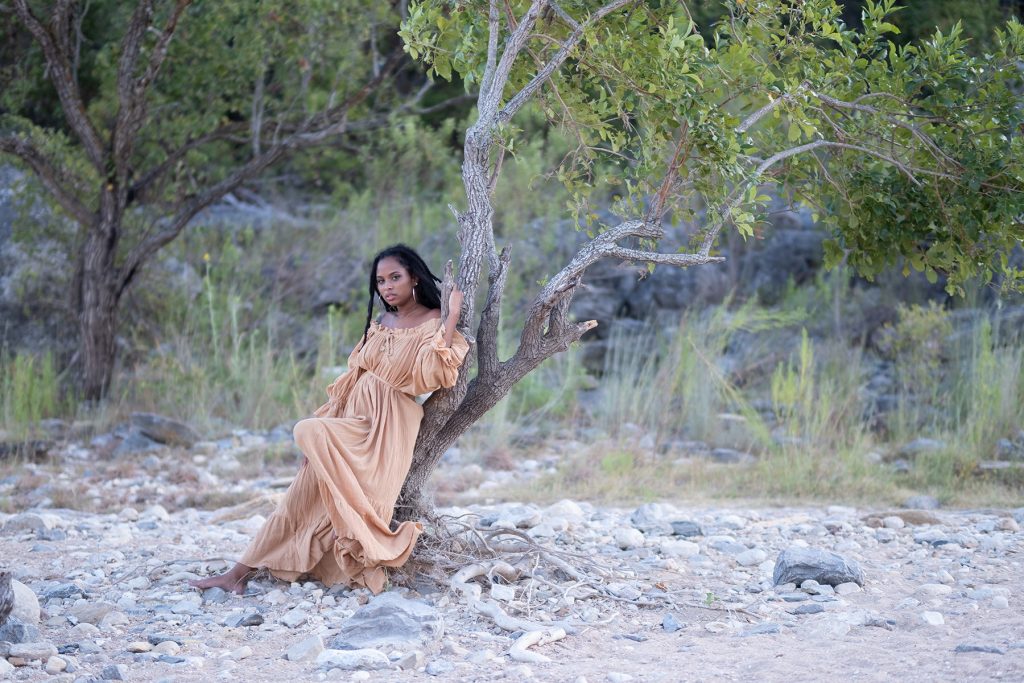 BeforeAfter
Here is a full edit with the collection, from the first click to the finished photo.
 Watch the video

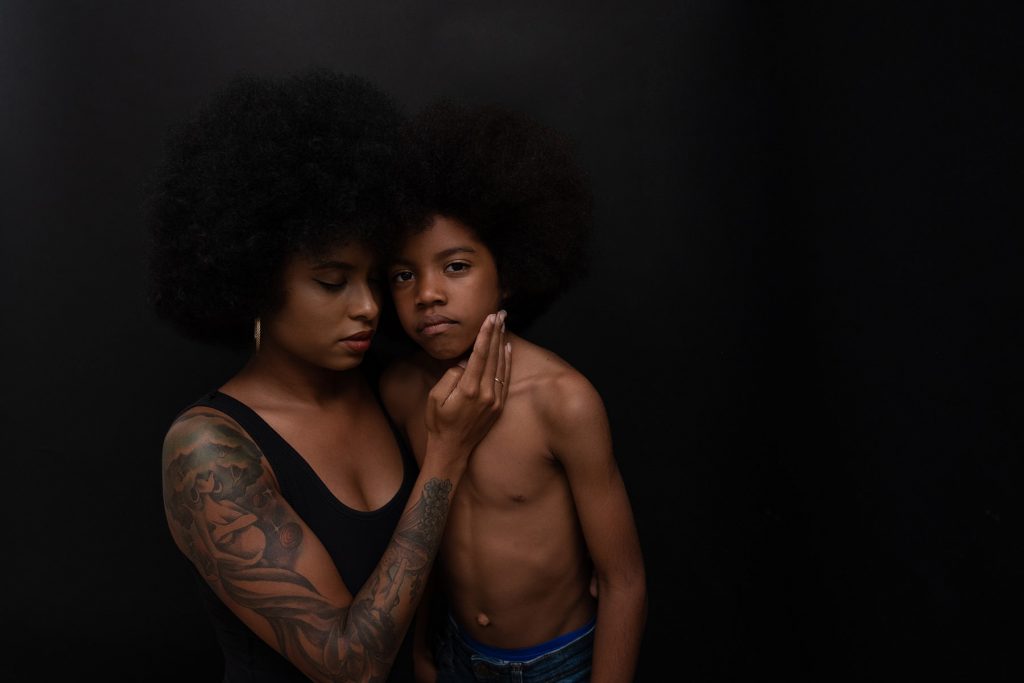 BeforeAfter
What you need
The presets work in Adobe Lightroom Classic (CC, 6, 5 and 4) and in Photoshop Camera Raw (CC and CS6); the newest versions are recommended. For the mobile version you need the Lightroom mobile app, and the brushes are not part of it.
Installing takes a minute with the Meridian installer if you create an account at checkout. If you check out as a guest, an installation guide comes with the download.
Whichever way you edit, by hand or with a preset, the test stays the same: does the person still look like themselves?
The collection in this post
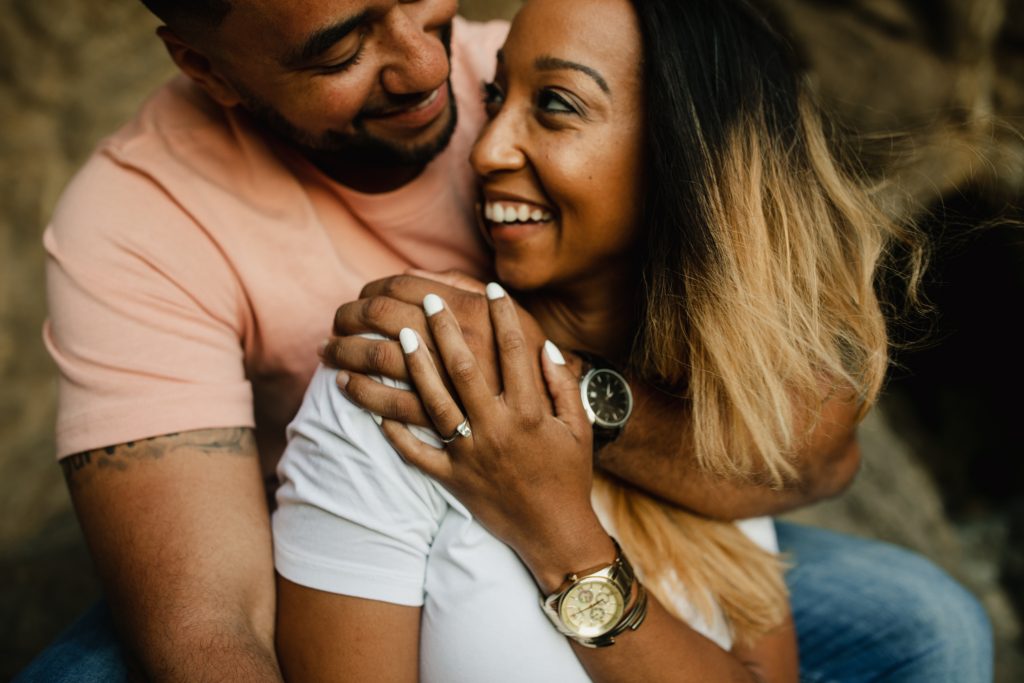 70% offTHE MELANATED FILMby Chinelle Rojas
Original price was: 79$.19$Current price is: 19$.